

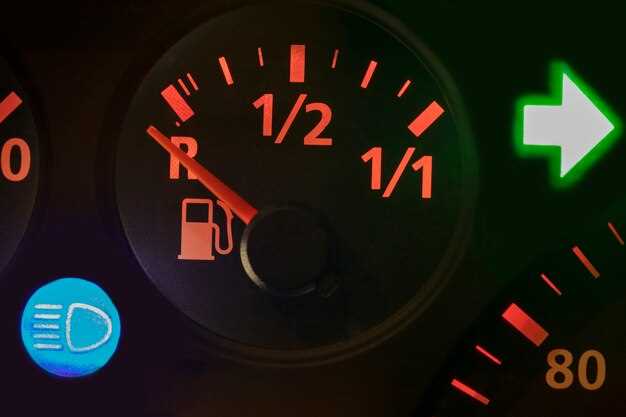
Understanding engine diagnostics and warning lights

The modern automobile is a complex piece of machinery that relies heavily on electronic systems for optimal performance. Among these systems, engine diagnostics plays a crucial role in maintaining the health and efficiency of your vehicle. A primary feature of this diagnostic system is the array of warning lights on your dashboard, which serve as an early detection mechanism for potential issues.
When the engine encounters a problem, the check engine light is often the first indicator that drivers experience. This light is a part of the On-Board Diagnostics (OBD) system, which monitors various engine parameters to ensure everything is functioning correctly. Understanding what these warning lights mean can help you take the necessary actions to prevent further damage to your vehicle.
In this article, we will explore the different engine diagnostics codes that trigger warning lights, their meanings, and the best practices for responding to them. By the end, you will gain a clearer understanding of how to interpret these signals, allowing you to make informed decisions about your vehicle’s maintenance and repairs.
Understanding the Check Engine Light: What It Means and What to Do
The Check Engine Light is an essential part of your vehicle’s onboard diagnostic system. It serves as a warning signal indicating that the engine management system has detected an issue that requires attention. Understanding what this light means can help you avoid potential engine damage and costly repairs.
When the Check Engine Light illuminates, it may be associated with various problems ranging from minor issues, such as a loose gas cap, to more serious concerns like engine misfires or malfunctioning sensors. The engine diagnostics stored in the vehicle’s computer will provide specific error codes that can guide technicians to the root of the problem.
If you see the Check Engine Light, here’s what you should do:
1. Check for Obvious Issues: Start with a visual inspection. Ensure the gas cap is securely tightened, as a loose cap can trigger the light. Look for any visible signs of leaks, unusual noises, or smoke coming from the engine.
2. Read Diagnostic Codes: Utilize an OBD-II scanner to read the diagnostic trouble codes (DTCs). These codes will help determine the specific issue affecting your engine. Many auto parts stores offer free diagnostic services.
3. Address the Problem: Depending on the error codes, you might resolve minor issues by yourself, like replacing a faulty spark plug or reconnecting a sensor. For more complicated problems, it’s advisable to consult a professional mechanic.
4. Reset the Check Engine Light: After addressing the issue, you can reset the light either by clearing the error codes with a scanner or disconnecting the battery for a few minutes. If the light returns, it indicates the problem persists.
Ignoring the Check Engine Light can lead to decreased engine performance and increased emissions, potentially resulting in severe damage and expensive repairs. Regular maintenance and prompt attention to warning lights are crucial for the longevity and efficiency of your vehicle.
Common Diagnostic Trouble Codes (DTCs) and Their Implications for Drivers
Diagnostic Trouble Codes (DTCs) are standardized codes used by automotive diagnostics systems to help identify issues within a vehicle’s engine and other systems. Understanding these codes can be crucial for drivers when assessing the health of their vehicle and determining the necessary actions to take when warning lights appear on the dashboard.
One of the most common DTCs is P0300, which indicates a random misfire in the engine. A misfire can lead to decreased engine performance, increased emissions, and poor fuel economy. Drivers experiencing this code should check their spark plugs, ignition coils, or fuel injectors, as these components are often the root cause.
Another frequently encountered code is P0420, which signals a problem with the catalytic converter’s efficiency. It suggests that the converter may not be functioning properly, potentially leading to increased emissions and a failed emissions test. Drivers should consider having their exhaust system and oxygen sensors inspected if this code appears.
Code P0131 denotes a malfunction in the oxygen sensor circuit, particularly indicating a low voltage signal. This issue can lead to improper air-fuel mixture regulation, affecting engine performance and fuel efficiency. Drivers should check the oxygen sensors and related wiring when this DTC is present.
P0171 indicates a system too lean condition, meaning there is too much air and not enough fuel in the combustion chamber. This can potentially lead to engine strain and performance issues. Drivers should verify the integrity of the intake system and look for vacuum leaks if this code appears.
Lastly, the code P0440 points to an issue with the evaporative emissions control system. It suggests a possible leak in the system, which can lead to increased emissions and can fail emissions tests. Drivers should inspect fuel caps, hoses, and any associated components to resolve this issue.
Recognizing these common DTCs and their implications allows drivers to take proactive measures and seek necessary repairs. Regular diagnostics checks can also prevent more significant issues down the road, ensuring a safer and more efficient driving experience.
How to Use an OBD-II Scanner for Accurate Engine Diagnostics
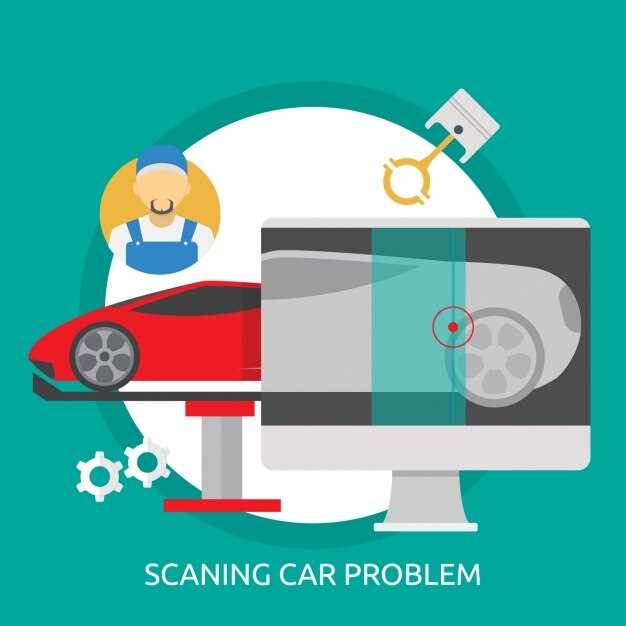
Using an OBD-II scanner is essential for diagnosing engine problems effectively. Start by locating the OBD-II port, typically found under the dashboard near the steering column. Once identified, plug in the scanner firmly to establish a connection with the vehicle’s onboard computer.
Next, turn on the ignition without starting the engine. This allows the scanner to communicate with the vehicle’s systems. Follow the specific instructions provided with your scanner to navigate through the menu. Select the option to read diagnostic trouble codes (DTCs). The scanner will display any stored codes that indicate issues detected by the engine management system.
Once you have the error codes, reference the user manual or an online database to understand what each code signifies. Codes often explain the specific components or systems that are malfunctioning, such as the fuel injection system, ignition system, or emission controls. Understanding these codes is crucial for accurate diagnostics.
After identifying the issues, you can choose to clear the codes if you plan to perform repairs. However, it’s advisable not to clear them before addressing the underlying problems, as the codes provide valuable insights into the vehicle’s condition. After repairs are made, use the scanner again to ensure that the codes have been resolved and that no new codes have appeared.
Regularly using an OBD-II scanner not only helps in diagnosing engine issues but also plays a vital role in routine maintenance. Keeping track of codes and vehicle performance can preemptively identify potential problems, saving time and repair costs in the long run.